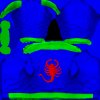
Drive Jacket

So I spent 3 or 4 hours last night digging through custmesh str2_pc files. I found no organization at all and couldn't find what I needed. So I'm looking for the varsity jacket, but even if I find it I have no idea what I'm supposed to do with repacking and am just hoping rgb is what decides where the color selection goes.

So here's what I was planning on creating to a degree.
0-ryanone.jpg


I wanted to get rid of all the text and logos, add the scorpion, and maybe make the bottom of the jacket a solid color instead of how it has a stripe now. I'd be incredibly grateful if someone pointed me in the direction of the file, even more so if someone tried to take this reskin on.

If you did want to try, I was going to use this for my scorpion.
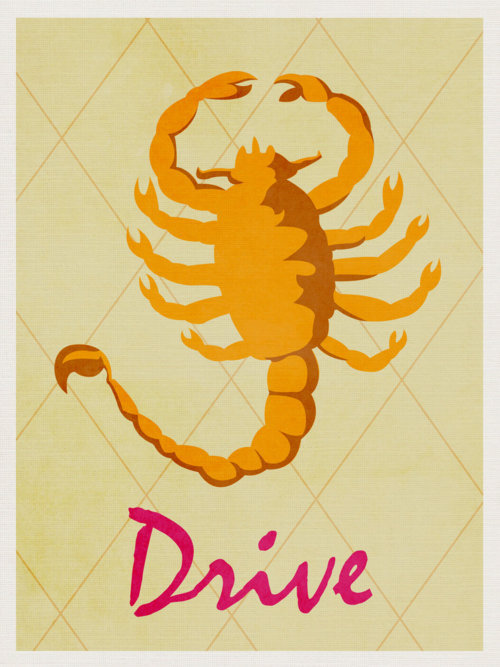
tumblr_m51w4synip1rn33dmo1_500.jpg
 
I went through all the files and managed to find the jacket. It's custmesh_-1484313218. I re-textures the bump map and main texture. (I'll attached those) But when it came to recompiling it, I have no idea where I went wrong.

So here's what I did:
1) I dragged all 3 dds files over the SR3RepackTextures.exe. (I just re-decompiled the cpeg and realized my first step didn't even work, so please help here.)
2) Then I got rid of the dds files from that folder and compiled the custmesh_-1484313218 folder into a str2_pc file.
3) I tossed that file over top the old and then repacked the customize_item.vpp_pc.

Despite the fact that I didn't even do the textures correctly this forces my game to crash when I click continue game. (It never stops loading)

So three questions.
1) How do I properly pack textures?
2) What caused my crash?
3) Is there a way to use this re-skin without recompiling the entire vpp? Like some games will just let you have textures sitting in the folder and that would overwrite the packed files. For example would, "customize_item/custmesh_-1484313218/cm_cnc_ubdy_m_varjacket.cpeg_pc" work?

I added a jpg to show I'm not just someone trying to get you to do work for me. I really want this in-game and have been working hard to make it happen. Please help.
 

Attachments

  • textures.rar
    textures.rar
    414.1 KB · Views: 432
  • cm_cnc_ubdy_m_varjacket_dp.jpg
    cm_cnc_ubdy_m_varjacket_dp.jpg
    698.2 KB · Views: 545
Anytime you repack a str2_pc file you also need to update the asm_pc file that relates to it. See the Guides and tutorials forum and the stickied modding basics thread for info on how it works.
 
When you change str2_pc file, you also need to update the corresponding asm_pc file. That would explain the crash.

As for number 3, yes, place the str2 and asm files into the base directory of your saints row the third installation, where the executable files are. You can't just put the cpeg file there; it needs to be the packed version in str2.

edit: Dang it, he beat me to it! And with better information.
 
How about repacking the textures? I don't understand how to do that even. haha Have to get past part 1 before I can do 2 and 3.
 
From the readme:

readme said:
To repack a texture file:

SR3RepackTextures <<filename>.cpeg_pc or <filename>.cvbm_pc>

You need to have the corresponding unpacked texture files in the same directory.

i.e.

SR3UnpackTextures ui_legal_pc.cpeg_pc

Plus the ui_legal_pc.tga.dds file has to be in the same directory as the ui_legal_pc.cpeg_pc file.

Drag and drop works, but you need to drag the .cvbm (or .cpeg) file onto the repacker and NOT the dds. The edited dds files just need to be in the same folder as the as the cvbm/gvbm.
 
I'm sorry guys. I feel like a idiot, I've never tried to mod something without a dev kit so this is more confusing than I'm used to. But the tutorials and explanations still sounds foreign to me.

I got the textures packed and the custmesh_-1484313218.str2_pc packed. So now to the asm_pc.

What I tried to do, (And what I thought the tutorials were telling me to do, but I was clearly wrong.) was I took the custmesh_-1484313218_PACKED.str2_pc file, renamed it custmesh_-1484313218.str2_pc and tossed it in a folder with nothing but it and the customize_item.asm_pc. From there I put the gibbed tools in that folder and dragged the .asm_pc file over top of the Gibbed.SaintsRow3.UpdateASM.exe...

I'm pretty sure nothing happened, I didnt get a customize_item_Repacked.asm_pc or something along those lines. Just to be safe I tossed those files into ..\common\saints row the third\ and when I try to buy the jacket at a shop it just shows whatever model I was on last. So my guess is I never even touched the asm_pc file.

I'm almost there, you guys have been awesome and sorry for being so clueless.
 
That's very close! It's true that UpdateASM alters the asm file in place -- it doesn't make a new file -- but you can't just drag the asm file onto the executable, because it takes two arguments. You need to use the command line.

Gibbed.SaintsRow3.UpdateASM.exe customize_item.asm_pc (folder_containing_custmesh_-1484313218.str2_pc)
 
The last part of Corrodias' post in the parens is telling you to choose your own path. Don't type that out.

A much easier way is to put everything in the same folder and then you can just use "." as the path , which would be the current folder the tools are in. i.e.:
Code:
Gibbed.SaintsRow3.UpdateASM.exe customize_item.asm_pc .

Also, create a batch file with that command and run it rather than doing it command line.
 
Back
Top